Run Molecular Dynamics Simulation on AWS Cluster
Setup AWS cluster using parallel-cluster package and run MD simulation on the AWS cluster
AWS and other cloud platform offers flexible computing resources at a reasonable price. There are many ways to take advantage of such cloud resource. Here, I’m going to show you how to setup a traditional cluster on AWS using parallel-cluster and perform MD simulation on it.
Prerequisite
To use AWS parallel-cluster, you will have to install AWS CLI (command line interface). Install using pip install awscli and configure the CLI using aws configure command. It will ask AWS access key ID and passphrase.
$ aws configure
AWS Access Key ID [None]: AKIAIOSFODNN7EXAMPLE
AWS Secret Access Key [None]: wJalrXUtnFEMI/K7MDENG/bPxRfiCYEXAMPLEKEY
Default region name [us-east-1]: us-east-1
Default output format [None]:
Note that pip installs AWS CLI version 1 and there is a new major version of AWS CLI (version 2), which can only installed using a package. The CLI version 1 still works, but in the future it may be deprecated. See here for more information.
After installing AWS CLI, install parallel-cluster using pip.
pip install parallelcluster
Initial Configuration
First create a configuration file using pcluster configure command. This command creates a configuration file, which can be edited later. A detailed explanation can be found in their documentation, so I’ll not cover these in depth.
I chose default option for the most part: slurm for the scheduler, ailinux2 for the operating system, both master node and compute node as t2.micro (we will change this later), and create VPC automatically with master node in public and compute node in private network option. The configuration file will be saved in ~/.pcluster/config.
Update Configuration
Let’s update the default configuration file saved in ~/.pcluster/config to what we want. First, we want to add [ebs] section. AWS EBS (Elastic Block Storage) volume is mounted as NFS (Network File System) in all of compute node, so the files can be persistently stored.
[ebs default]
shared_dir = /shared
volume_type = sc1
volume_size = 500
Here, I’m asking 500 GB of HDD (sc1) to be mounted on /shared folder.
Another important update to be made is the [queue] and [compute_resource] section.
[queue gpu]
enable_efa = false
compute_resource_settings = gpu
compute_type = spot

[queue cpu]
enable_efa = false
compute_resource_settings = cpu
compute_type = spot

[compute_resource gpu]
instance_type = p3.2xlarge
min_count = 0
initial_count = 0
max_count = 10
spot_price = 1.5

[compute_resource cpu]
instance_type = c5.2xlarge
min_count = 0
initial_count = 0
max_count = 10
spot_price = 0.5
Here, I’m defining cpu and gpu queues that use c5.2xlarge instance and p3.2xlarge instances, respectively. I asked both queue to utilize spot instances and the maximum bidding price is set to 0.5 and 1.5 USD for cpu and gpu.
The full example configuration file can be found in here.
Create Cluster
Let’s create the cluster named cloudmd using the configuration just created now by
pcluster create cloudmd
Once the cluster is created, you can SSH into the cluster master node using the following command.
pcluster ssh cloudmd
If you know the public IP address of the master node, you can ssh directly to the node (check the AWS EC2 Dashboard). You should be able to see 500GB of EBS is mounted on /shared folder and two queues, cpu and gpu, are ready. The gpu queue is intended for running MD simulation and machine learning tasks using GPU whereas the cpu queue is ideal for the tasks that only requires CPUs, such as docking tasks.
[ec2-user@ip-10-0-0-104 ~]$ df -h
Filesystem      Size  Used Avail Use% Mounted on
devtmpfs        2.0G     0  2.0G   0% /dev
tmpfs           2.0G     0  2.0G   0% /dev/shm
tmpfs           2.0G  532K  2.0G   1% /run
tmpfs           2.0G     0  2.0G   0% /sys/fs/cgroup
/dev/xvda1       25G   13G   13G  51% /
/dev/xvdb       493G   73M  467G   1% /shared
tmpfs           395M     0  395M   0% /run/user/1000

[ec2-user@ip-10-0-0-104 ~]$ sinfo
PARTITION AVAIL  TIMELIMIT  NODES  STATE NODELIST
cpu          up   infinite     10  idle~ cpu-dy-c52xlarge-[1-10]
gpu*         up   infinite     10  idle~ gpu-dy-p32xlarge-[1-10]
Note that there are no compute nodes currently running. Only when jobs are submitted and waiting in the queue, the compute node will bring up the compute nodes until jobs are all finished. This greatly reduces compute cost without manually bring the nodes up and down yourself.
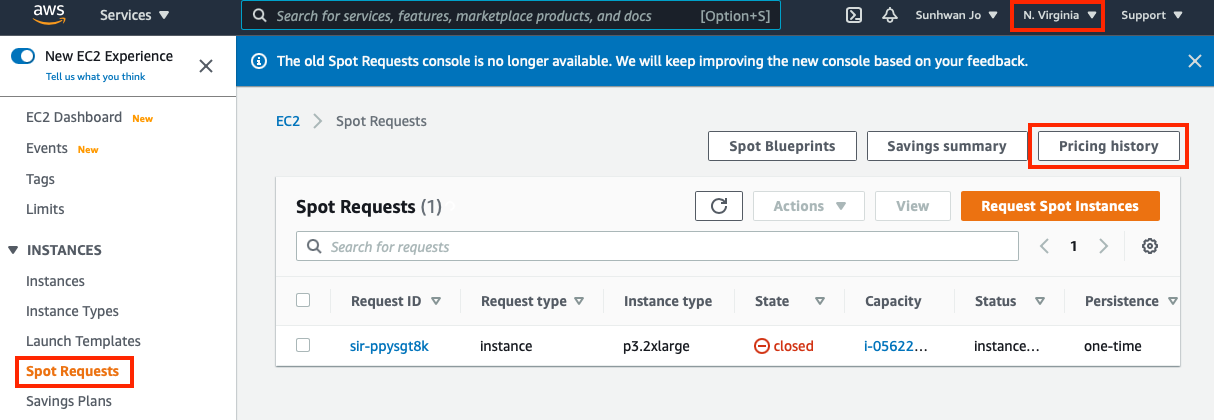
We plan to use the spot pricing, which will also reduce cost down further. You can check the historic spot instance pricing from this link or from the EC2 dashboard (see this screenshot).
One down side of the spot pricing is that, when the cost of spot price goes over the maximum bid price we set, the node will be shut down. In that case, the Slurm scheduler will resubmit the job again automatically. If you set your Slurm job script to take care of the restart, your job will start running when the spot instance is available again.
Run MD Simulation
Let’s first install MD simulation package, OpenMM, in our shared volume. We will use Miniconda as a package manager.
# download Miniconda
wget https://repo.anaconda.com/miniconda/Miniconda3-latest-Linux-x86_64.sh

# install Miniconda
/bin/bash Miniconda3-latest-Linux-x86_64.sh -b -p /shared/miniconda/

# add Miniconda to your PATH
export PATH=/shared/miniconda/bin:$PATH

# install OpenMM
conda install -c conda-forge openmm
I have built an example MD simulation system using Lysozyme (PDB:181L). You can download it from here.
# download MD simulation system
cd /shared
wget https://sunhwan.github.io/blog/assets/examples/cloudmd/charmm-gui-181l-openmm.tar.gz
tar -xvzf charmm-gui-181l-openmm.tar.gz

# prepare Slurm job script
cd charmm-gui-1894063249/openmm

echo "#!/bin/bash
#SBATCH --job-name=MD-example  # Job name
#SBATCH --partition=gpu
#SBATCH --ntasks=1             # Request 1 CPU
#SBATCH --time=2:00:00         # Time limit hrs:min:sec
#SBATCH --gpus=1               # Request 1 GPU
export PATH=/shared/miniconda/bin:$PATH
/bin/csh README" > run.sh

# submit the job script
sbatch run.sh
You can monitor the progress of job using squeue and sinfo commands. If your compute node is not running, you may want to check your EC2 instance limit from your AWS EC2 dashboard. They are usually very low by default. For me, All P Spot Instance vCPU was limited to 4, but p3.2xlarge instance have 8 vCPU, hence compute node was not able to start and cycled through starting and failing. Make sure the instance type have enough amount of vCPU allocatable.
The MD simulation in my example file is set to run a short equilibration and 10 ns of production simulation. The simulation system contains 43K atoms and the task took about two hours, so about 120 ns/day of throughput on p3 instance. At the time the task ran, the p3 spot instance cost about USD $0.918 per hr, so the 10 ns MD simulation cost us about USD $1.8 from the GPU instance. You will have additional cost from running master node (t2.micro cost $0.0116 per hr ~ $0.27/day), using the EBS disk storage ($0.015 per GB per month ~ $0.25/day for 500GB), and network data transfer. Clearly, the compute cost is the bulk of the cost. Running the same task using the on-demand p3.2xlarge instance would have cost about USD $6, which is about 3x saving by using the spot instance.
When you are finished using the cluster, you could put it to sleep using this command.
pcluster stop cloudmd
This stops running master node and EBS volume, however, does not remove them, hence some small cost would still incur in this state. You can delete the cluster completely using the command:
pcluster delete cloudmd
Note that this will also remove EBS volume as well, therefore you want to create a backup of the volume before doing this. If you create a snapshot of the volume, you can use the snapshot to build the EBS volume in the future.
Conclusion
AWS parallel-cluster provide a very easy way to create your own cluster in just a minutes. The cluster can be configured in various ways to fit your needs whether you are interested in machine learning or MD simulation, or some other task (render farm?). The compute nodes are only brought up when there’s a task waiting in the scheduler queue, so the total cost is minimum. No more turning up and down the EC2 instance by yourself.
You can further save the cost by using the spot instance with the risk of your node shutdown middle of the task. Slurm scheduler let the job back in the queue if that happens, so you want to write the Slurm job script to take care of the restart.
parallel-cluster really did a good job at making people to tap into cloud infrastructure easily and cheaply. I started using this tool when it was cfncluster and it came a long way. I really appreciate the team for continuing development in this package. ❤️